CAPTAIN RATBAG (Mk1 #6) Pt5
Keeping the ball rolling... I also picked up some new front strut tops, front brake pads and some Goodridge braided brake lines.
Strut tops in.
Braided lines also in.
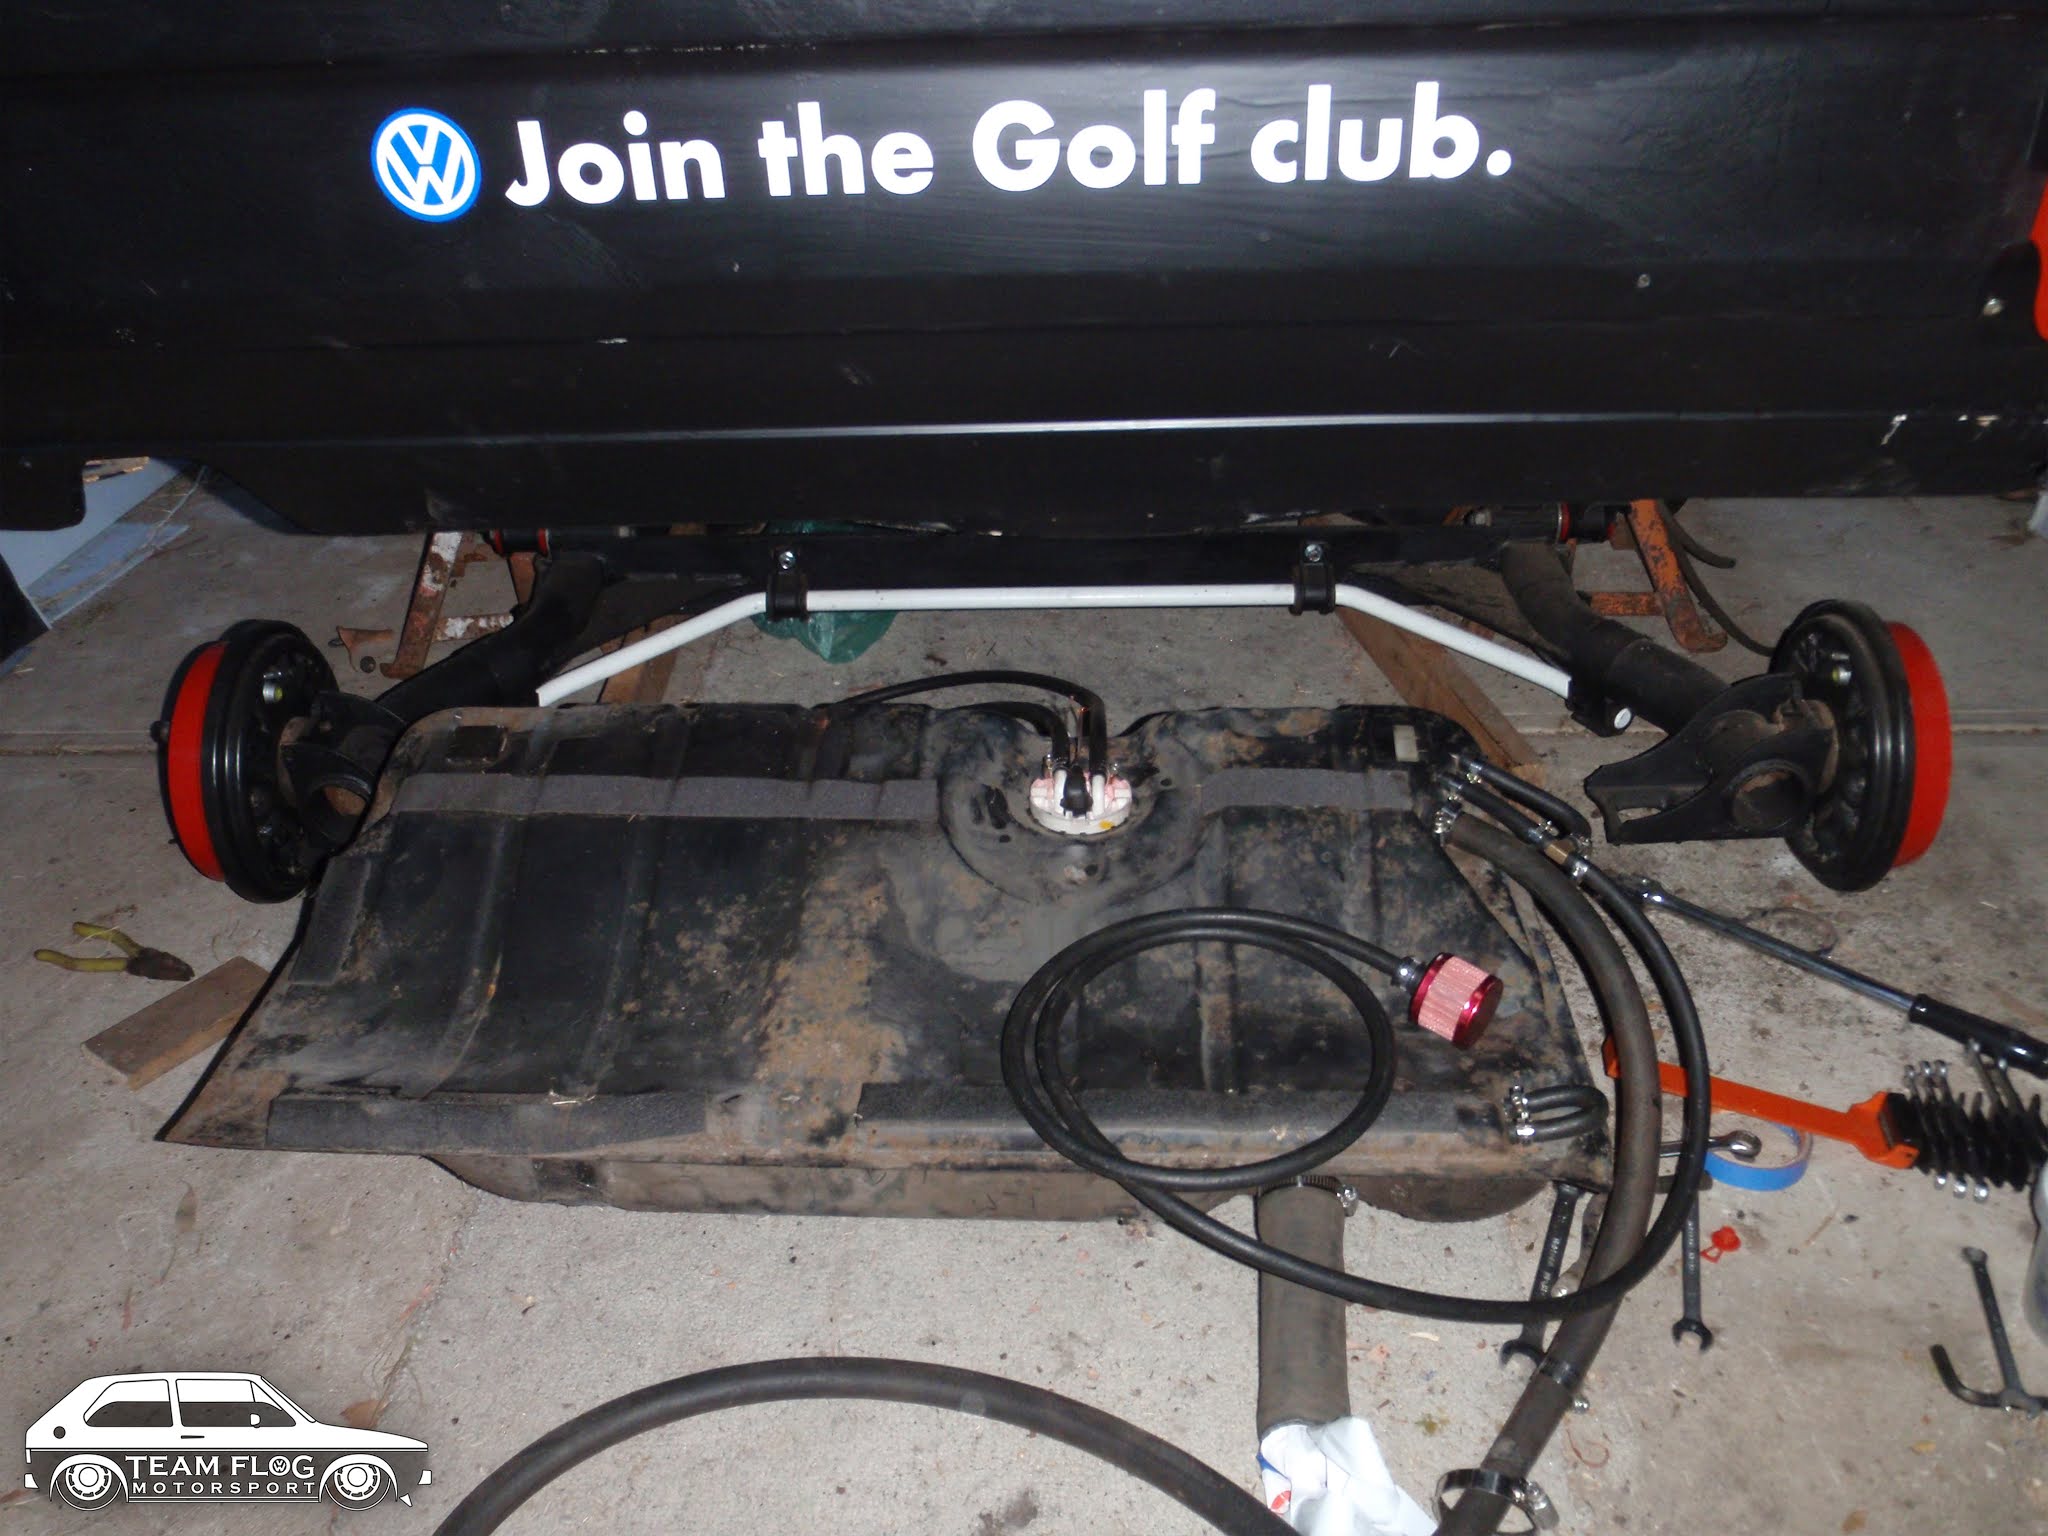
Next on the list is sorting out the fuel system so out with the rear beam, old tank, fuel filler and all the old hose.
Taking all this out wasn't too bad, but removing all the "35 years of dirt" encrusted breather hose was a filthy job.
Lets move a few days later and here we are with all new hose, clamps and breather. Also the tank, metal lines and filler have had a good clean with petrol.
Below is my solution to the factory tank breather set up.
I gave the float a really good clean and we tested it with an Ohm meter to make sure it was working properly.
All ready to go back in.
I’ve run the new tank breather around the back, put a loop in it and hidden the filter just under the rear lip.
New filler overflow hose and return line.
Up the front is just a test fit of the hose setup.
Sometimes I think about how I could really use a bigger shed.
The next big job is figuring out all the plumbing and getting cool air to my Weber's. I wanted to have a thinner radiator mounted on the passengers side so the Weber's could breath free from the front. I tried one from a Mini which was too small, then one from a Civic which was too tall, and custom ones are quite pricey. Being a twin cam I will be revving it hard and the engine is going to get hot so I decided to go bigger instead and work something else out for cold air.
I did some measurements and found that not only is a mid 90's Peugeot 205 radiator a fair bit longer than a standard Golf one, but it fits perfectly underneath the top lip. Here is an early version of my air intake.
... and another cold air intake version.
... and another, but they just don't seem right.
New plan, I picked up some flex pipe and a couple of awesome air scoops haha. They are actually the reflectors for Bowens strobe flash light units for photography studios, and their diameter just happens to be the same as a Mk1 Golf head light.
So it looks like I am no longer having lights in the front of my car.
After many cold intake mock ups I finally got a design I was happy with so time to make it properly.
I marked it up on some 1mm aluminium sheet, folded it up and riveted it together.
These are just a couple of drain parts I found at the local hardware store. The one on the left is how they came. With the one on the right I cut it down and flared the edge so the blue flex pipe would fit.
Here it is riveted to the cold box.
Now to the job of re-organising the plumbing. Here I have put in an overflow bottle from a Mk3 Golf with some little custom brackets and a random 2lt catch can that I found on eBay.
I picked up some clear hose from the local hardware so I can see what is going on in there. The one with the 1 way valve goes to the top of the gearbox and the other goes to the block. I also put a bit of hose from the drain outlet and ran it down to near the bottom of the guard.
I just clamped a bolt into the end of it. This way if I ever I need to drain the catch can I can do so without getting muck everywhere.
Continued here.


