CAPTAIN RATBAG (Mk1 #6) Pt3
Here's me giving the gearbox a quick clean with a high pressure hose. It's a rebuilt 5 speed close ratio box with an 80% locked diff.
210mm GTI clutch and a heavy duty Sachs pressure plate.
With the engine and suspension about to go in I picked up a full Urethane bush kit to replace all the 30 year old rubber ones.
We have all been at that special place after a very long day working on cars.
With the gearbox bolted on, the engine is ready to be dropped in and mounted up.
We used the old "jack the car right up and slide it under" method.
By the time we had put the engine in it was getting pretty late and we had not eaten... never a good thing.
The block going in was the last thing that needs to be done at other locations, it's time for my little car to come home for the rest of the build.
Back in the shed.
With the much larger Mk2 Golf brake booster already on my car we figured it would be good to pair that up with Mk2 Golf GTI front calipers and the larger 200mm rear drums from a Seat Cordoba.
The front calipers arrived already reconditioned but as you can see the rear drums needed some work.
I broke them down, scrubbed each part, and reassembled them with new pads and brake cylinders.
A quick coat of high temp paint for the drums and a touch up for the calipers.
I am waiting on some braided lines and heavy duty front pads to arrive but apart from that the brakes are sorted and ready to go in.
You may remember early in the build I mentioned I (perhaps foolishly) designed the look of this car in the xbox game Forza Motorsport 4.
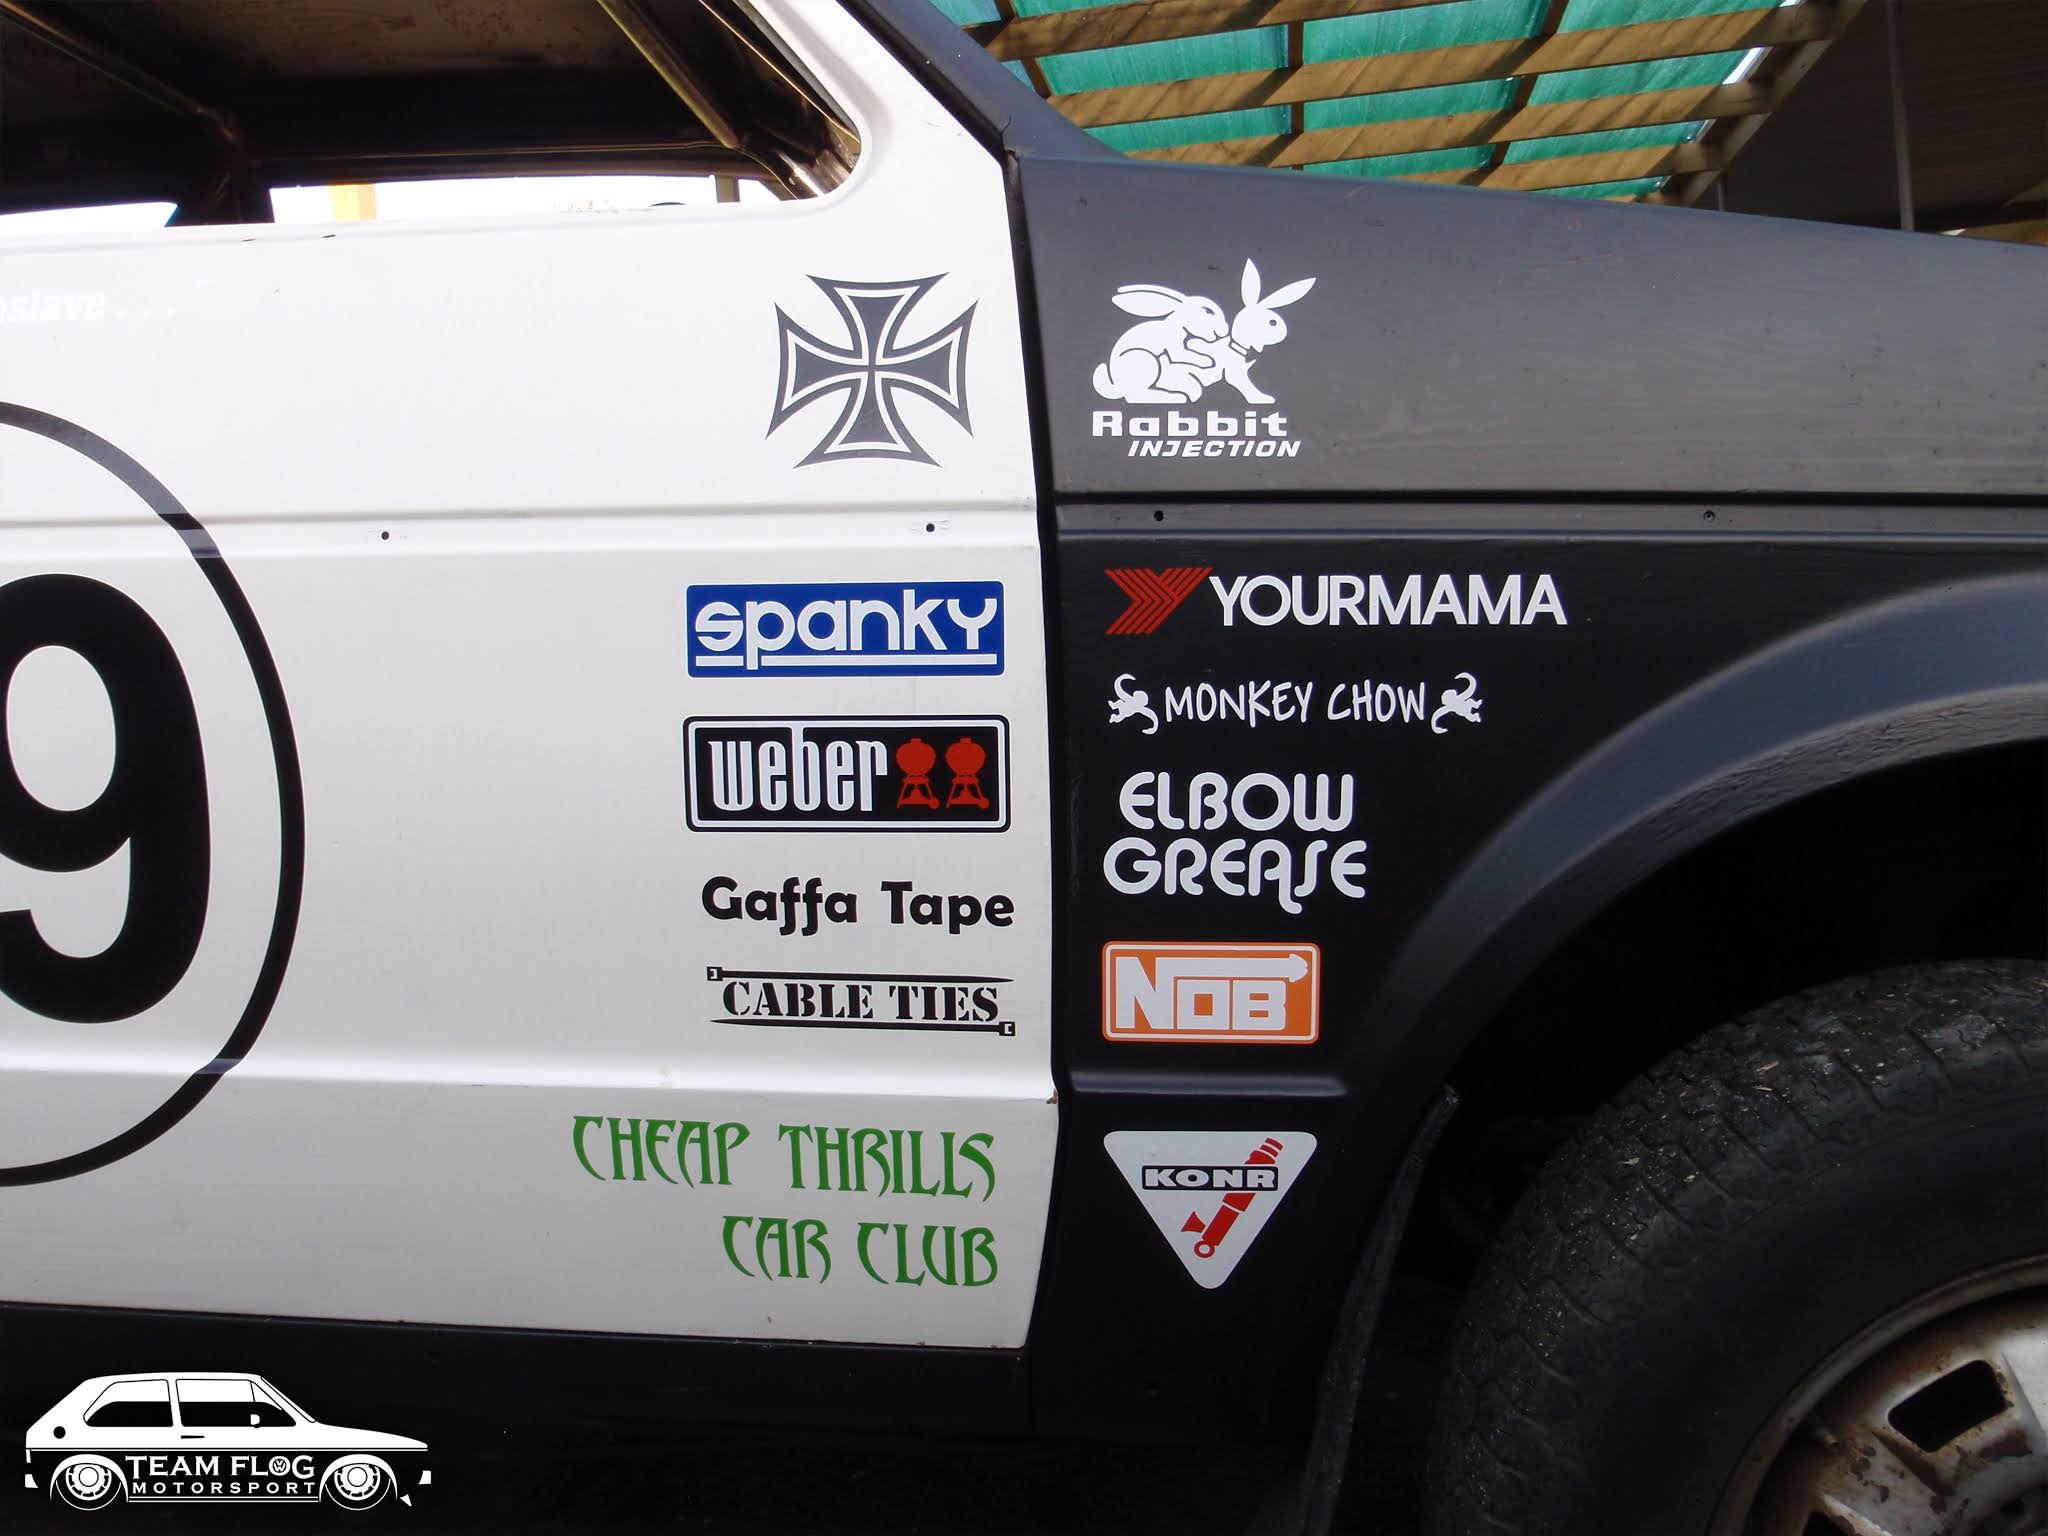
As well as butchering VW's I am also a graphic artist. It's no surprise that I got a little carried away when I gained access to a vinyl plotter/cutter. Three months of lunches at work playing with Illustrator later...
The aftermath.
Sponsored by the best haha.
I have a few parts on their way so I figured while I wait I might knock out a new dash instrument panel. I picked up all the Auto Meter mechanical gauges I need plus a bunch of warning lights and switches.
When I did the stickers I also designed a new dash layout. I used an old instrument panel to mark out the correct shape on some white Perspex so the text and icons will show up white and translucent.
With the vinyl now on the Perspex, you can see my drill markers for the pilot holes. I figured since this is a hill climb car only my gear changes matter so I'm not running a speedo, just a tacho in the middle.
All the holes are drilled and ready and it's time to mount the new face. I cut out the inside of an old instrument panel so it will be easy to install. I had to sacrifice it to the VW gods but it was worth it.
Glued and screwed, and reinforced across the back.
My new instrument panel is ready to go in.
Next up is door cards. For templates I used some old door cards and made some new ones out of thick paper.
All cut out of 3mm thick MDF and lightly sanded.
Installed!
I also bolted up a rear upper strut brace that I made for one of my former Golfs.
After a quick lick of paint...
As you can see I have ripped the legs off my car. I had to give the control arms and rear beam some attention. Also prep a set of GTI sway bars I picked up and a front lower brace.
Everything got a serious wire brushing and a degrease, I cut out the old rubber bushes and gave it all a lick of paint. Next was mounting the rear sway bar and putting in all new Urethane bushes.
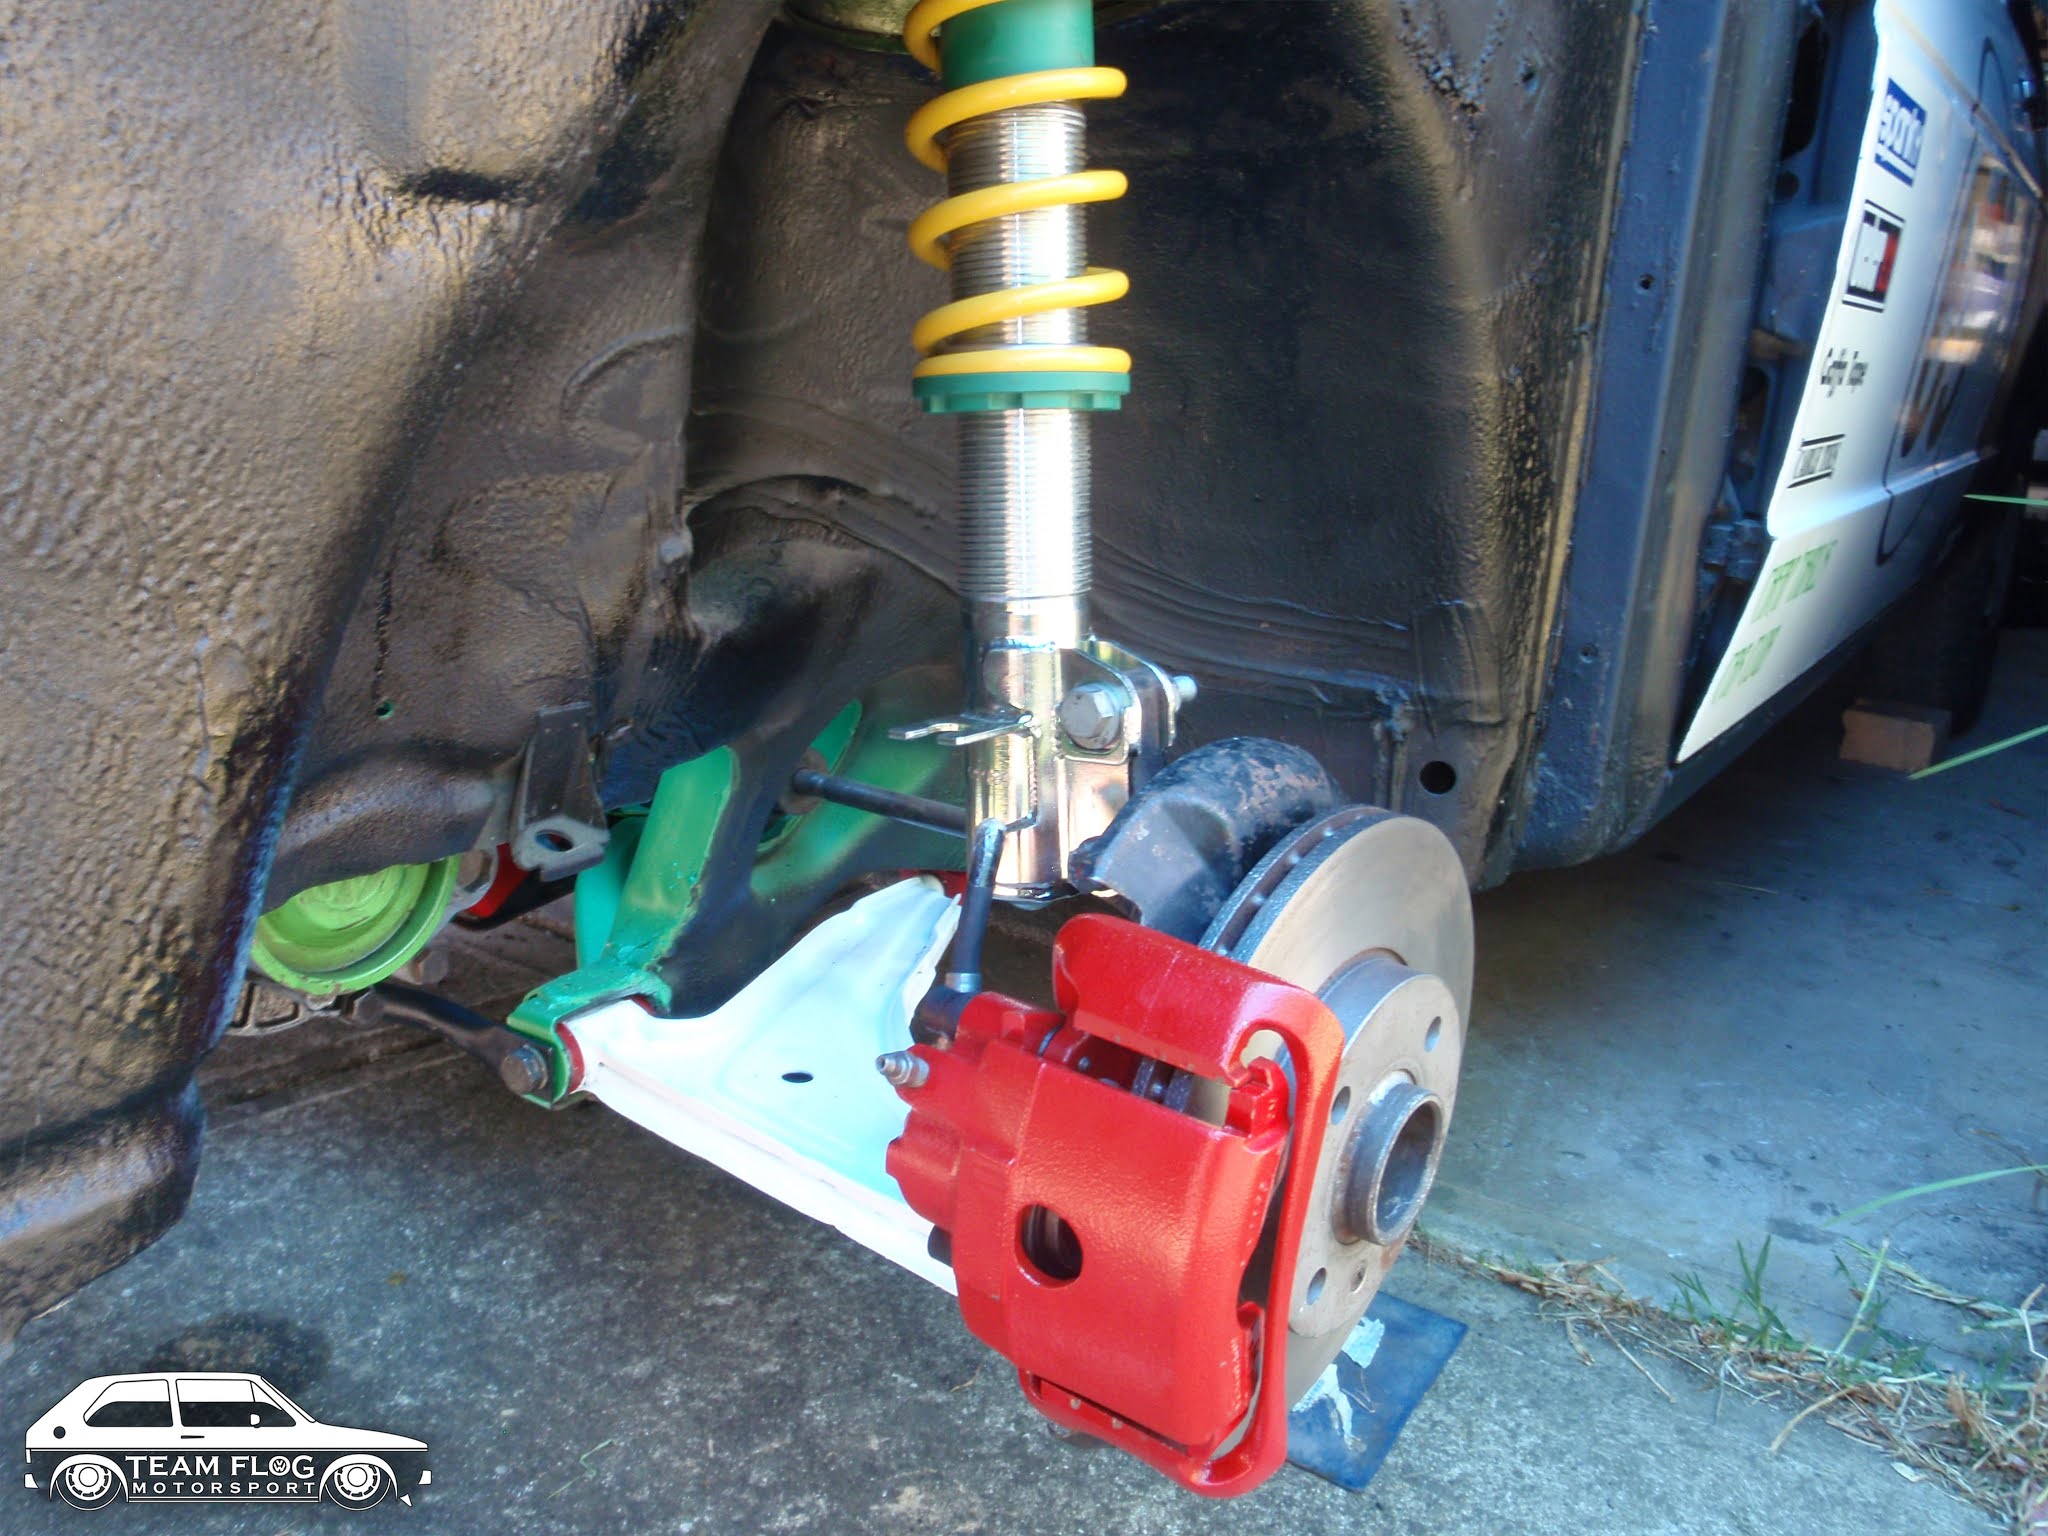
I have had this set of Weitec TX adjustable coil overs stashed in a cupboard for about 18 months now, it's great to get them on the car, and my girlfriend is VERY happy to finally have them out of the house.
I used a set of standard suspension tops, gave them a thorough clean and packed the bearings with fresh high temperature grease.
Control arms on, coil overs in, GTI brake calipers bolted to a pair of vented disks, and the steering rack all connected up.
To finish off the front end, the lower brace. I am still waiting on new heavy duty front pads and braided brake lines so once they come in I will bolt up the front sway bar.
Now to the back, coil overs bolted in with Urethane top mounts, and my Seat Cordoba rear drums.
Keeping this car light is key so I am going to replace the window glass with 3mm poly-carbonate sheet. I had the pieces roughly cut to size.
I made some templates, and hit them with a jigsaw.
Since the windows will be sealed up I got tricky with the drivers side. Cut a hole, cut a square with a hole in it, and made a channel.
Did the same for the top and cut piece's to hold the sliding square in place.
I used some 15mm x 1.5mm aluminium strap to screw inside the door to make a lip for the window to mount to.
And screwed it all up!
Continued here.


